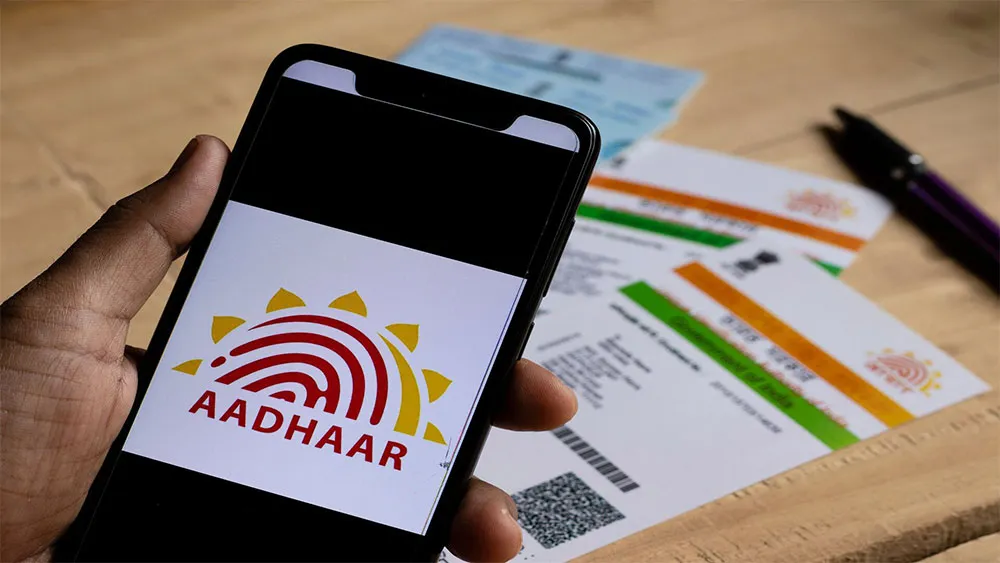
How to Update Aadhaar Card: Change Phone or Address
How to Update Your Aadhaar Card: Step-by-Step Guide to Change Phone Number or Address
The Aadhaar card is a vital identity document in India, essential for accessing a wide range of services, including banking, government subsidies, and official verifications. Keeping your Aadhaar details, such as your phone number and address, up to date is crucial to ensure seamless transactions and avoid disruptions in services like bank account linking or document verification. Whether you've changed your phone number or moved to a new address, updating your Aadhaar card is a straightforward process when done through official channels. This detailed guide provides a step-by-step approach to securely update your Aadhaar card details, helping you avoid scams and complete the process efficiently.

The Importance of Keeping Your Aadhaar Details Updated
An Aadhaar card is more than just an identification document; it’s a key enabler for accessing financial, governmental, and private services in India. An outdated phone number can prevent you from receiving OTPs required for authentication, while an incorrect address may cause delays in critical processes like passport applications, property transactions, or accessing government benefits. For example, linking your Aadhaar to your bank account requires a registered mobile number for secure transactions. Similarly, accurate address details ensure smooth verification for services requiring proof of residence.
With the rise in digital fraud, updating your Aadhaar details through official channels is essential to avoid scams. The Unique Identification Authority of India (UIDAI) provides a secure platform for updating your information. This guide outlines the steps to update your mobile number or address, ensuring your Aadhaar remains a reliable tool for all your needs.
How to Update Your Mobile Number on Your Aadhaar Card
Your registered mobile number is critical for Aadhaar-related services, as it’s used to receive OTPs for authentication. If you’ve changed your phone number, follow these steps to update it on your Aadhaar card:
Step 1: Visit the Official UIDAI Website
Begin by navigating to the official UIDAI website. Ensure you’re on the legitimate site to avoid phishing scams. The website is designed to be user-friendly, guiding you through the update process securely.
Step 2: Select “Get Aadhaar”
On the homepage, find the “Get Aadhaar” section, which includes options for various Aadhaar-related services, including mobile number updates.
Step 3: Click ‘Book Appointment’
Select the “Book Appointment” option to schedule a visit to an Aadhaar Seva Kendra or an authorized center for updating your mobile number.
Step 4: Choose Your City or Select “Others”
Choose your city from the dropdown menu. If your city isn’t listed, select “Others” to locate the nearest Aadhaar center.
Step 5: Log In with Your Registered Mobile Number and OTP
Log in using your registered mobile number. You’ll receive an OTP for verification. If your old number is no longer active, you’ll need to visit an Aadhaar center in person.
Step 6: Enter Aadhaar Details and Select “Mobile Number Update Service”
Enter your Aadhaar number and choose the “Mobile Number Update Service” to proceed with updating your phone number.
Step 7: Pick Your Appointment Time
Select a convenient date and time for your appointment at the Aadhaar center. Bring your Aadhaar card and any supporting documents to the appointment.
Step 8: Pay the Fee and Receive Update Request Number
Pay a nominal fee of Rs. 50, if applicable. Upon submission, you’ll receive a 14-digit Update Request Number (URN).
Step 9: Track Your Application Status
Use the URN to track the status of your application on the UIDAI website. The mobile number update process may take up to 30 days to complete.
How to Update Your Address on Your Aadhaar Card
If you’ve moved to a new location, updating your address on your Aadhaar card is essential. UIDAI allows online address updates, provided you have a registered mobile number. Follow these steps:
Step 1: Visit the Official UIDAI Website
Go to the official UIDAI website to start the address update process. Always verify the website’s authenticity to avoid fraudulent platforms.
Step 2: Select “Address Update” Under “My Aadhaar”
In the “My Aadhaar” section, select the “Address Update” option to begin the process.
Step 3: Log In with Your Registered Mobile Number
Log in using your registered mobile number and verify your identity with the OTP sent to your phone.
Step 4: Proceed to “Update Aadhaar”
Click on “Update Aadhaar” and select the option to update your address.
Step 5: Enter the New Address with Proof
Enter your new address and upload a valid address proof, such as a utility bill, passport, or voter ID. Ensure the document meets UIDAI’s requirements for clarity and validity.
Step 6: Pay the Fee and Receive Update Request Number
Pay the Rs. 50 fee, if applicable, and receive a 14-digit Update Request Number (URN) upon submission.
Step 7: Track Your Application Status
Use the URN to monitor the status of your address update on the UIDAI website. The process typically takes up to 30 days to complete.
Protecting Yourself from Aadhaar Update Scams
As Aadhaar becomes increasingly integral to various services, scammers often target individuals with fraudulent schemes. To protect yourself, always use the official UIDAI website or visit authorized Aadhaar centers. Never share your Aadhaar number or OTP with unverified sources, and avoid paying fees to unofficial agents. Regularly check your Aadhaar update status using the URN to ensure your request is processed correctly.
By following these steps and staying vigilant, you can update your Aadhaar card details securely, ensuring your identity document remains accurate and functional for all your needs.
Comment / Reply From
You May Also Like
Popular Posts
Newsletter
Subscribe to our mailing list to get the new updates!


